Skip to content

Scanning Real Life Assets to 3D Environments

1. Introduction

Niantic’s Scaniverse is a mobile application that enables users to create detailed 3D scans of real-world objects and environments using their smartphone. This guide provides instructions on how to use Scaniverse and import assets into 3D applications like blender.

1.1 Using Scaniverse

Scaniverse is available for iOS devices and can be downloaded from the App Store. To function correctly, the application requires access to the camera and storage. Once installed, users can open the app and create a new scan by selecting the red “+” button. The blue orbs you see on the map are people who have used Scaniverse and published their data/result through the app. This is completely optional.

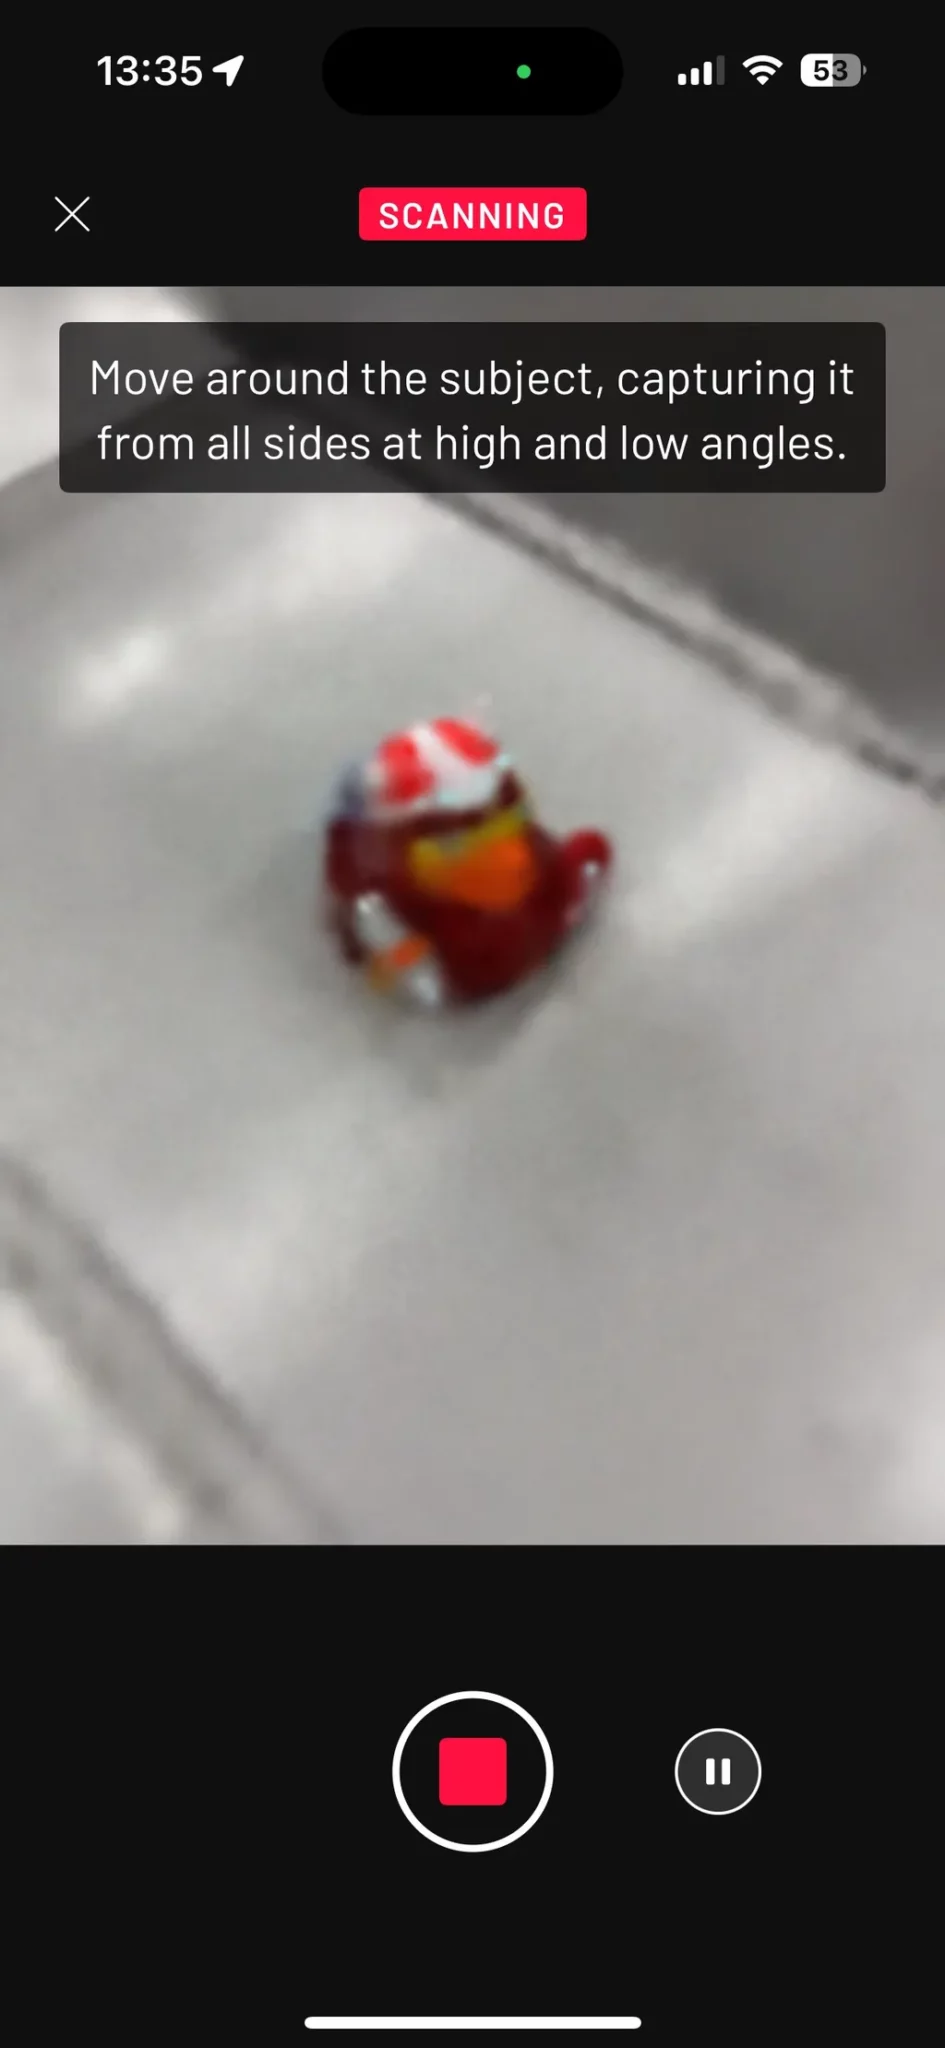
Users can choose between different scan modes, including a standard Splat mode for regular 3D Gaussian Splats and a Mesh (LiDAR) mode for devices equipped with LiDAR sensors, which provide more export options for editing convenience and other use cases. The scanning process involves moving the smartphone slowly around the object or environment to capture it from all angles. Proper lighting and steady movement improve scan quality. After capturing, users can finalize the scan by selecting the red “square” and allowing the app to process the data.

Scaniverse includes built-in tools for cropping, cleaning, and refining 3D models. The application supports multiple export formats, including OBJ, FBX, GLTF, USDZ, and PLY. These formats can be used in various 3D applications, augmented reality (AR) and virtual reality (VR) environments, and game engines. Users can also upload scans to platforms such as Sketchfab, Unity, Unreal Engine, or Niantic’s AR tools.

We make sure that WeTransfer is installed through the iOS Store before exporting. This will be the medium to export the .ply file by as a WeTransfer to your e-mail of choice or as a shared link. After having the app installed you go back to Scaniverse and click on the “share” button.

Export Model As → PLY → ..WeTransfer → “WeTransfer opens”

Once you click on “PLY” and have WeTransfer installed. You select WeTransfer as app to transfer it by. This workflow has tested other applications like Google Drive, Dropbox, and iCloud and we experienced many unsuccesful transfers working with heavy file sizes that work on an Apple device. WeTransfer is therefore more reliable since it is not cloud based.

Once you obtained the link, download the zip file with the .ply file inside of it. We will install the .ply file into Blender in step 2.4

Before continueing we need:
 
Blender, as our main framework to import the scan in: https://www.blender.org/download/
 
ReShot, an addon made for Blender to import and view .ply files in, this can be installed through GitHub – ReshotAI/gaussian-splatting-blender-addon
2.1 Downloading & Installing Blender

Download link: https://www.blender.org/download/

From the official website we download the latest stable version. After clicking “Download Blender” The file will be found in your preferred Downloads folder with “.msi” as file format.

Double click on the .msi file in your downloads folder to initiate the installation and look at the images below to process through.

After the installation has been succesful, we download ReShot from GitHub.

Download link: https://github.com/ReshotAI/gaussian-splatting-blender-addon

Visit the GitHub site and click on the green “Code” button. Then click “Download Zip” on the pop-up tab.

After downloading, we will install the .zip file into Blender.

Open Blender after we have installed it.

Click on the “Edit button” once you have opened it. Then click on “Preferences” to open up the Addo-ons tab. Once the tab has opened, look for the “v” icon and click on it. Select “Install from Disk…”

Select the .zip file we have downloaded from the ReShot GitHub page.

After succesfully installing the Addon, you can double check if it has been enabled in the Add-ons tab.

On the right we see “Import Gaussian Splatting” in our viewport. Click on it and select our downloaded .ply file. This is our scan.

You will see lots of cubes inside the viewport. What we are interested in first, is cleaning up our viewport so we can see the scan clearly.

To make our scan more useful and less heavyweight on the computer, we will proceed with the following steps.

Basic principles of navigating in Blender

  1. Hold the middle mouse to navigate around the scene and let loose if you want to stop rotating in the scene.

2. Press G on your keyboard to move the object (your scan) in the scene. This mean the camera is not moving, but your object.

3. By holding Shift and Middle mouse drag, you navigate in the scene weherever you want with your mouse

4. By holding ALT + Mouse Drag Up/Down/Left/Right you adjust your perspective view. This is very practical for editing 3D meshes.

Selecting and deleting

If you are in Object mode, you move objects. If you are in Edit mode, you edit an object.

Cleaning up the scene

To see ‘through’ the object in Blender, we go to the wireframe mode which can be selected in the top right as illustrated in the images below.

Use your Left Mouse Click Button to select all the points (highlighted orange) and press Delete OR press X to delete them.

(!) A tab will popup asking you what to delete, we want to select vertices.

When you are done selecting and deleting, you will get your clean mesh as seen below.

As you can see the contour and shape of the object. We will adjust the settings in our addon and render engine to have a live preview of your made scan.

  1. Make sure that in the Render Properties (the camera menu icon), the Render Engine has change to EEVEE instead of Cycles. EEVEE is meant for real time rendering.
  2. In the 3D Gaussian Splatting tab, the tab from our installed addon, uncheck “As point cloud (faster) to get a real look at your scan. Point clouds are used as data point to let you roughly interpret 3d shapes.
  3. Put the “Display Percentage” to 1.
  4. Make sure the viewport is set to “Viewport Shading”
  5. Make sure to click on the “Show Overlays” icon to remove the black dots from the viewport.
  6. You will see your final result, the scan you made. Cleaned up.

Photogrammetry

Photogrammetry is a technique for creating 3D models by analyzing multiple 2D images of an object or environment. By extracting depth, texture, and structural details, this method reconstructs realistic models. Scaniverse automates much of this process using artificial intelligence.

Applications of Photogrammetry

  • Game development: Creating realistic assets for VR, AR, and games
  • Cultural preservation: Digitizing historical artifacts and sites
  • Architecture and design: Scanning environments for visualization

Neural Radiance Fields (NeRFs)

NeRFs utilize machine learning to generate 3D scenes from sets of 2D images. By training a neural network to estimate light and geometry, NeRFs capture realistic lighting and reflections, which distinguishes them from traditional photogrammetry methods.

Advantages of NeRFs

  • Greater realism compared to polygon-based 3D models
  • Better handling of complex lighting and reflections
  • Useful for VR, AR, and visual effects

Gaussian Splatting

Gaussian Splatting is a rendering method that represents 3D scenes using thousands of small Gaussian ellipsoids instead of polygons. This technique enhances realism and efficiency in rendering, making it a promising alternative to traditional 3D modeling.

Applications of Gaussian Splatting

  • Real-time AR/VR rendering
  • Digitization of real-world scenes
  • Enhancing NeRF-based models

Scaniverse is a valuable tool for creating 3D content. Understanding Photogrammetry, NeRFs, and Gaussian Splatting enables users to produce high-quality 3D models suitable for various industries. Whether applied in game development, AR/VR applications, or digital heritage preservation, Scaniverse offers an accessible entry point into 3D scanning technology.

By mastering these concepts, users can take full advantage of 3D scanning technology for creative and professional applications.